WOW!!! ALL NEW CHANGES Starting SUMMER 2022

So there are so many things going on right now in my life that I have to say you will be surprised to see what next.  

1. For starters I will be saying goodbye to my current craft room because I have a new adventure build in the works for an all-new workshop/crafting space. Don’t worry I will record it all for you to see.

  • New walls
  • New floors
  • New shelves
  • New lighting
  • This will be a climate-controlled space

2. I have purchased a commercial grade laser so I will be designing all new laser cut dollhouse kits that will be larger than the ones I have now.

  • Video tutorials will be made for every new dollhouse kit so you won’t have to panic anymore when you start a new build because you will always know what to do when you buy one of my dollhouse kits.
  • Large and small kits for the beginners and for the experienced

3. Reviews on my first laser and my new laser

  • Pros v/s Cons
  • Programs that make them work
  • Programs I use
  • Why I would or would not buy it again

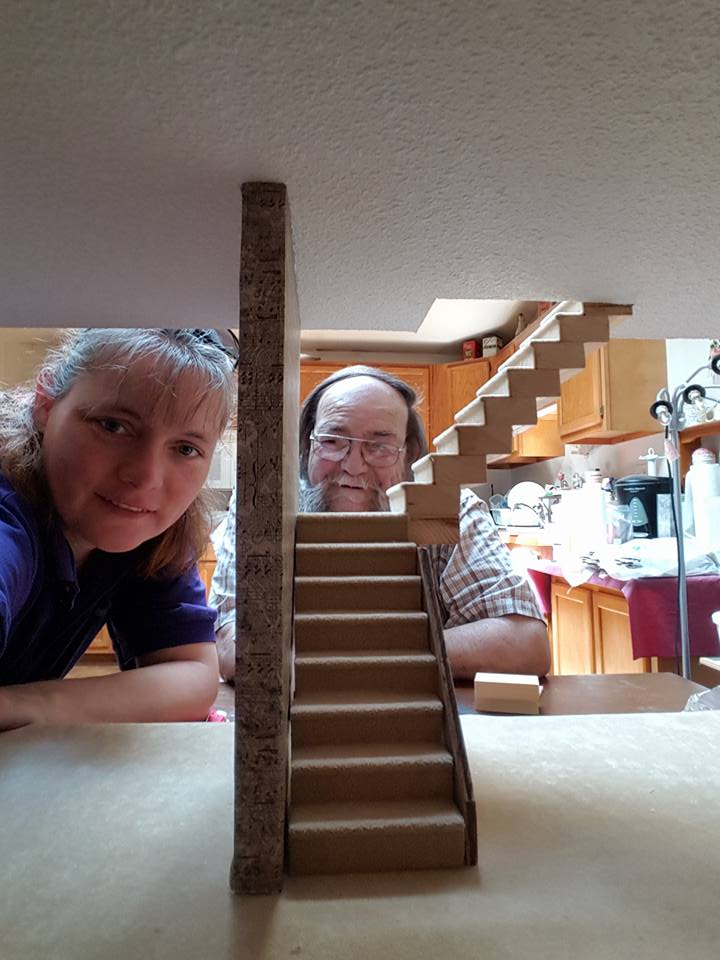
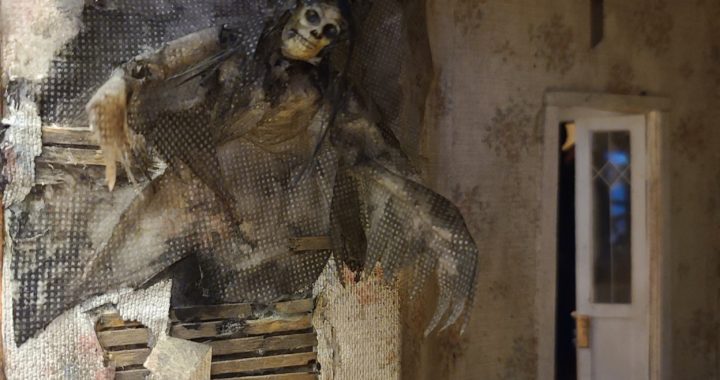
Last but most wanted, I am going to try to finish my Real Good Toys farmhouse as it is long overdue. I’m not making any promises’ because it is a very emotional build for me. However, once I have my new space set up, I will do my best to try to complete the last build my dad and were doing together before he passed away. 

Well follow my YOUTUBE channel FACEBOOK and my ETSY SHOP for more to come.
Laurie

Aged Corrugated Dollhouse Roof

An oldie but goodie

I used an aluminum catering tray lid and this handy paper crimping tool the Corru-Gator.

STEP 1: Cut your tray in strips to fit inside your crimper and leave 1 long flat strip for the roof peak.
STEP 2: Put your smaller cut tray pieces inside the crimper roller area. Follow the crimper tool Directions.
STEP 3: Glue the small pieces to roof with hot glue then glue the long strip to the roof peak.
STEP 4: Age with multiple shades of browns, reds, yellows, gold, gray and orange acrylic paints You can see how I dry brush and age my paint on my other videos.
STEP 5: Give it a clear coat of matt Mod Podge.

#dollhouse dad

Skeleton Tutorials–Halloween 2020

Here are some of my skeleton tutorials that you may like.
 

1:12 v/s Barbie Scale (Chair Tutorial)

What is the difference between 1:12th and Barbie

What is the difference between 1:12th scale and Barbie scale? Well lets just see this chair tutorial in both scales.
 

Now you can understand how easy it is to convert any of our templates to Barbie scale. 
 

More Dollhouse Fun-COMING SOON

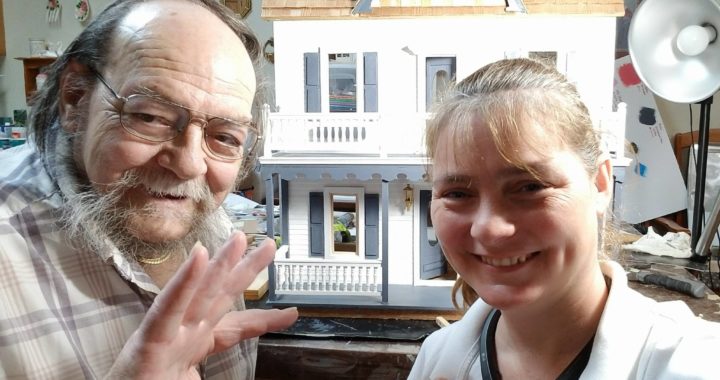
I know I’ve been super busy for the last couple of months but Dad and I were able to get some doll housing fun in, so I hope you all enjoy all the new post/tutorials.
Also, I will be going on vacation in a couple of weeks so I’m hoping to put together some of the things we did awhile back so you can learn how we made those items too. However, please keep in mind I do work during the day so I may not get to uploading the templates right away.

Off the top of my head I know I still have the following to put together:

Canopy bed
Hutch
Sewing Room
Birdhouse
Lots of updates on the 50’s Diner
Some basic tool videos and some build tips

Thanks for your support in sharing our page and also for your kind comments. We really appreciate all of them ♡

Miniature Dollhouse Knives

These miniature dollhouse knives were super easy to make. If you want to make them please check out my video tutorial.

Miniature dollhouse knife video tutorial

Miniature dollhouse axe video tutorial

Cat Tree

So today I made two different cat trees and I don’t even have a pet cat or a miniature cat nor can I find one I like on the internet lol


I’ll be adding the tutorial soon to my YOUTUBE channel soon so don’t forget to subscribe.

TALK TO US-QUESTION REPLY


QUESTION FROM Toni- Would love to learn the best way to wire my house. Don’t know if I should hardwire or use tape. Do you guys know or have any tips?

ANSWER: We used copper tape and 12 volt LED lights. We don’t have many lighting tutorials but you can see how we did ours by following this link.

http://www.dollhouseminiaturemadnessandtutorials.com/dollhouse-structures/lights/

QUESTION FROM Milli-I am working on the Greenleaf Orchid house and am about ready to start painting.  This kit is balsa wood and the edges are not clean.  I can sand, but there are areas where the wood has split or has flaked.  This is my first time working with balsa and I’d like to have a clean look on the porch banisters, window trim, etc.

Any ideas about what product or process would help to fill out the edges of the balsa and make a smoother base for painting?

Thanks!  Hope you all are having a fantastic new year!

ANSWER: This is a problem we have had as well. If you follow the link below then watch these videos you will see how you can address these issues.

Repair Holes-Wood Edges

Repair Wood Post

Fix Roof Wood Gaps

http://www.dollhouseminiaturemadnessandtutorials.com/dollhouse-structures/building-tips-tricks/

QUESTION FROM:

ANSWER:

Do you have a question, suggestion or even a project tutorial request? Or perhaps you have a problem that you are struggling with and need a little guidance? Well, now you can complete this all new form and we will do the best we can to help you out.

Once we have some submissions Dad and I will review all the forms and talk to you back.